

[Note] This is not a guide to learn about policies. You should have basic knowledge on Azure Policies to follow along. If you are new to policies you should start from What is Azure Policy?
Let's create a policy for Azure Keyvault.
There are several built-in policies available for key vaults to choose from based on our requirements. But, we will try to create a custom policy and deploy it. Our goal is to assign our own policy to the subscription and see how it affects our Keyvault creation process.
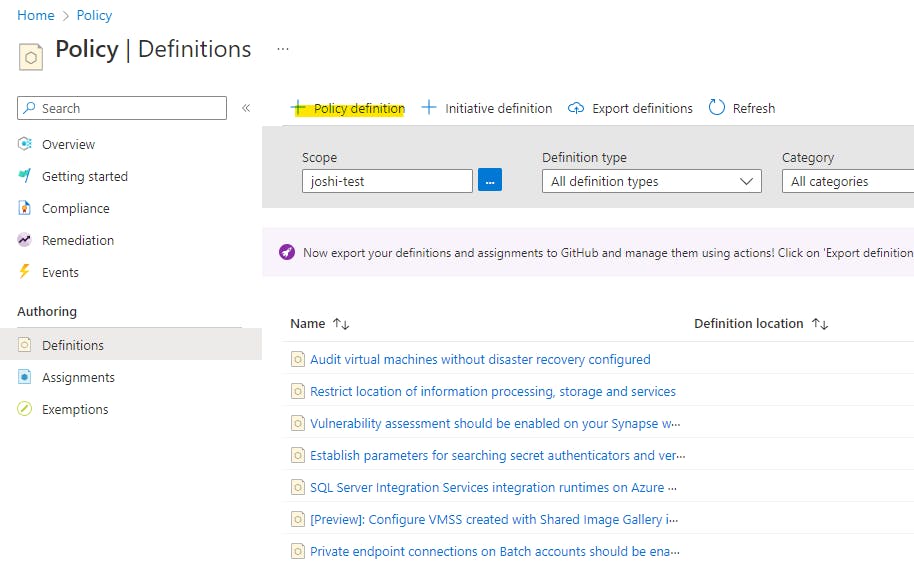
As you can see in the image below, there are a number of policies available in the portal. To view this you can search for "Policies" in the search bar.

Let's create a new policy to deny creation of keyvault with "premium" sku or deny any sku other that "Standard". If we don't know the resource type or the parameter that we want to use then we can see it through the automation template.
To view the template click on an existing resource(keyvault) and from the side menu click on "Export Template". It will show you the arm template that can be used to create the resource.

In template, in the properties section you can see the sku and the value as "standard". You can see the same by clicking on the parameters section as well.
"sku": {
       "family": "A",
       "name": "Standard"
 }
This is the field that we need to validate while creating a KV. But knowing only the parameter is not enough, we need the resource type of the key vault as well. Because we want the policy to deny the creation of resource type "key vault" with field "sku" set as anything other than standard. We can find the type of resource in the resources section of the template file. In this case, it is "Microsoft.KeyVault/vaults".
Now that we know the resource type and the field, we will begin with policy creation.
The policy definition is mainly the parameters and the policy rule(logic). We only have only value that is acceptable SKU(standard), we don't need to create a parameter and directly use it in the rule. But, we will create a parameter.
Basic strcuture of a Policy(learn more)
{
    "properties": {
        "displayName": "<displayName>",
        "description": "<description>",
        "mode": "<mode>",
        "parameters": {
                <parameters>
        },
        "policyRule": {
            "if": {
                <rule>
            },
            "then": {
                "effect": "<effect>"
            }
        }
    }
}
Let's build the parameter
"parameters": {
    "allowedSkuTier": {
        "type": "string",
        "value": "Standard",
        "metadata": {
            "displayName": "sku tier",
            "description": "sku tier for Key Vault"
        }
    }
},
Policy Rule
"policyRule": {
            "if": {
                "allOf": [
                    {
                        "field": "type",
                        "equals": "Microsoft.KeyVault/vaults"
                    },
                    {
                        "field": "Microsoft.KeyVault/vaults/sku",
                        "notEquals": "parameters[('allowedSkuTier')]"
                    }
                ]
            },
            "then": {
                "effect": "deny"
            }
        }
Policy Creation
We will use the portal to create the policy definition
Select the definition location, it means at what scope you want your policy to be. You can choose your test subscription for now. To learn more about scope, Management groups/subscriptions click here. Give a name and brief description of your policy. Then select create new. You can add a category, then organizing/filtering becomes easy with categories. Replace the parameters and Policy rule from the policy definition with snippets mentioned above. Or you can just replace it with the snippet below.
Policy Definition
{
  "mode": "All",
  "policyRule": {
    "if": {
      "allOf": [
        {
          "field": "type",
          "equals": "Microsoft.KeyVault/vaults"
        },
        {
          "field": "Microsoft.KeyVault/vaults/sku",
          "notEquals": "[parameters('allowedSkuTier')]"
        }
      ]
    },
    "then": {
      "effect": "deny"
    }
  },
  "parameters": {
    "allowedSkuTier": {
      "type": "String",
      "metadata": {
        "displayName": "sku tier",
        "description": "sku tier for Key Vault"
      },
      "defaultValue": "Standard"
    }
  }
}
Save the policy definition.
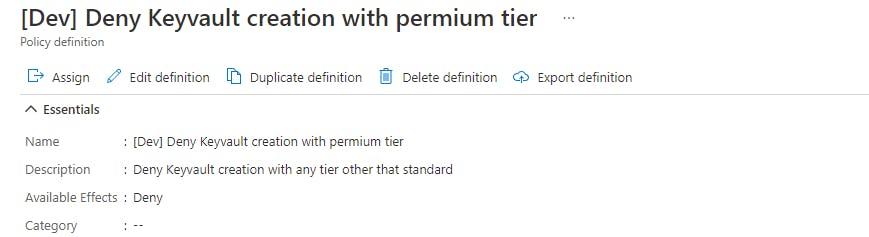
It will take you to the policy definition page. Select Assign.
[Note]: You will see the name of the policy that you gave in the section before.
Select the scope(i.e. subscription for now) and then press next for all the configs. It's a simple policy, you won't need to change anything in the rest of the tabs. Select Create.
The policy will be assigned.
Validation
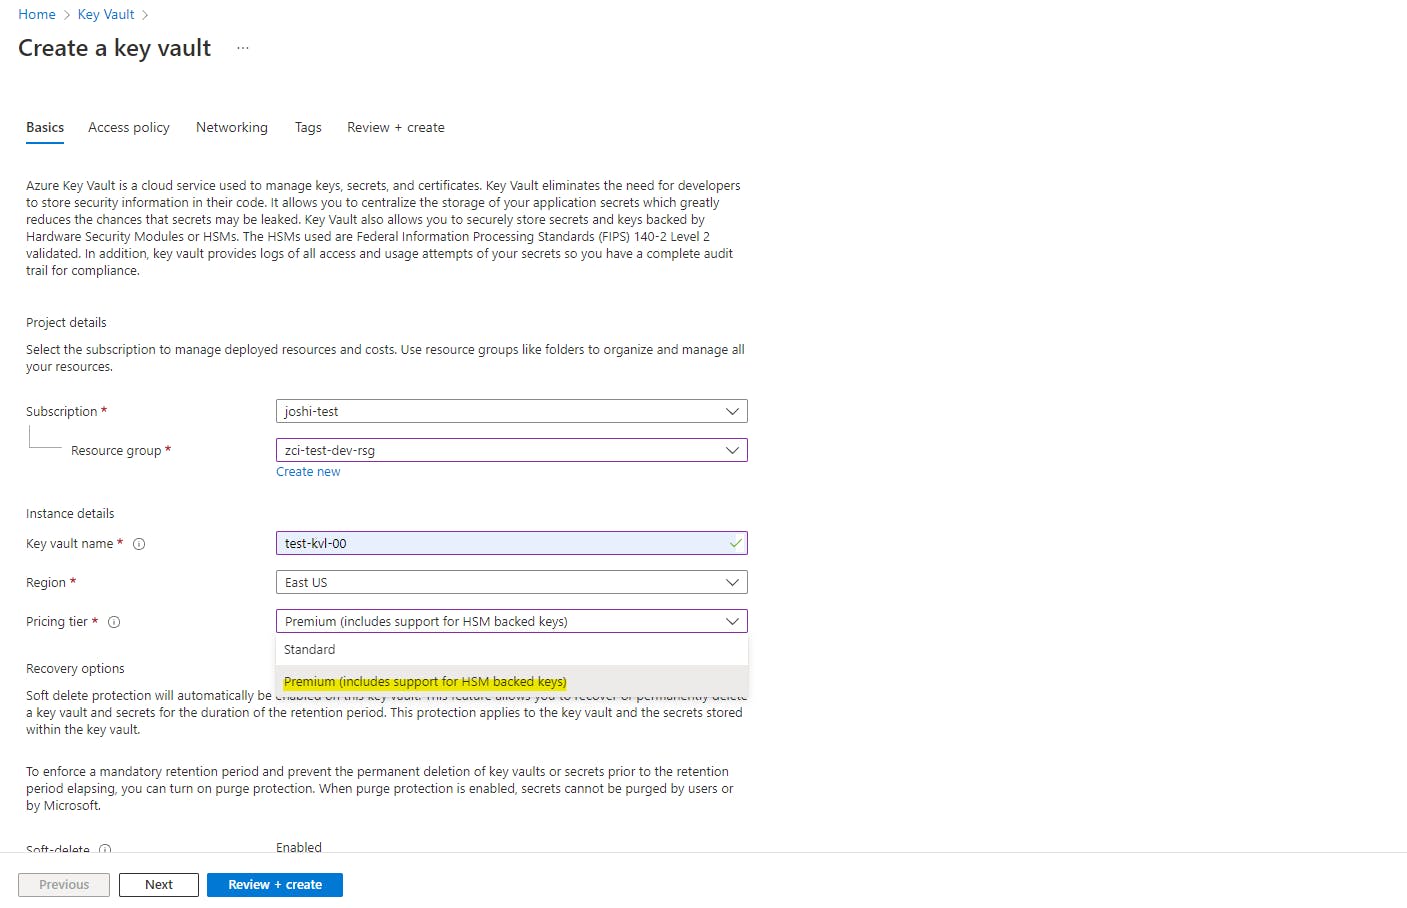
We will now try to create a new Keyvault from the portal and test if the validation fails if we select a premium tier. Create a Keyvault resource from the portal. Select the premium SKU tier.
Select the options you like from the other tabs, or just go with the default options. In the end select "Review + Create". You should see a Validation error message.
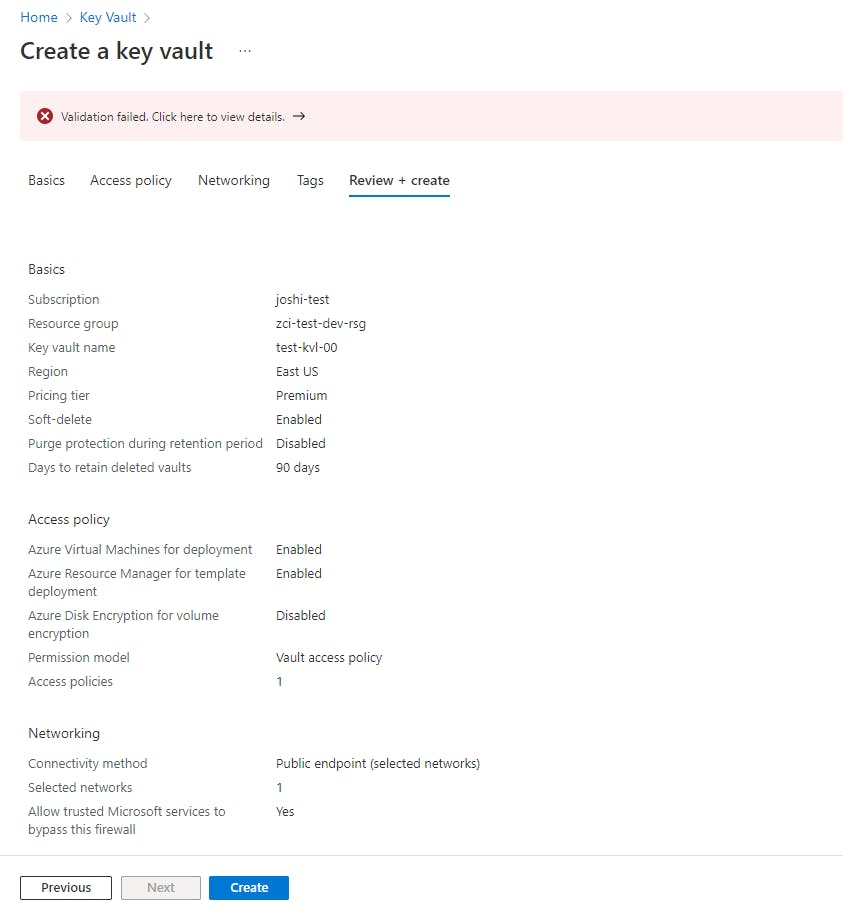
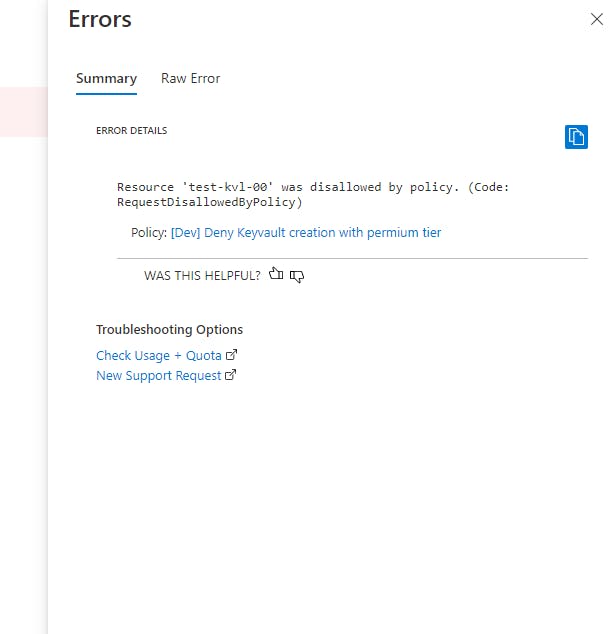
Click on it to view the error details. We can see the policy name as well.
Congrats. We created a policy to validate a parameter of a resource and deny it's creation if the validation fails. Change the tier back to Standard and you can successfully create a new key vault.